Using the Windows 10 Snipping Tool
- March 18, 2024
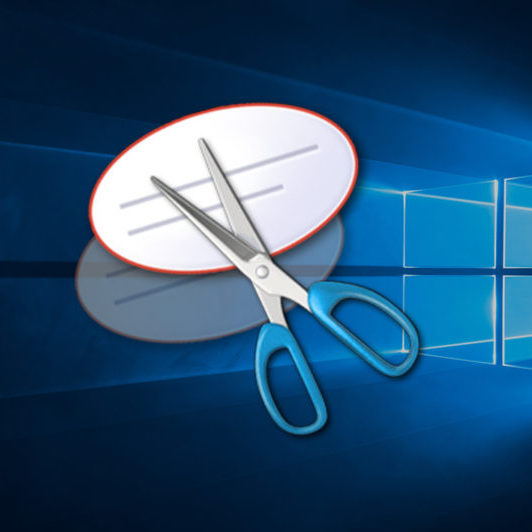
Taking screen shots is a great way to save pictures of anything you are looking at on your workstation as well as providing a visual to someone you are trying to describe an issue to. Many chose to use the Print Screen button, but this only takes a full screen picture instead of a specific window. Did you know Windows 10 has a great tool you can use instead? It’s called Snipping Tool!
To Use:
- Click on the Windows Start button
- Type the name “Snipping Tool” and select it from the program list
- Click NEW and then click and drag your mouse over the area of your screen you want to capture.
- Once taken, simply click File to find options to Save or Send As Email to someone.
TechTip provided by Evan, Tier Two Help Desk Technician
Blog Categories
Main Menu